
Safety first!
Through the comment of an attentive reader, I was made aware of a possibly dangerous problem: The 110V/230V part in the control was not reasonably separated from the low-voltage area. Thus it would be at least theoretically possible that the relays, the valves, etc. come into contact with 110V/230V. This is of course dangerous and must be prevented!
Fortunately, this can be done quite easily:
First, I turned the transformer 180 degrees so that the 110V/230V part points directly down. I also used a 3D printer to print a divider that prevents the 110V/230V line from slipping into the rest of the area. I also gave the power line a simple strain relief by means of cable ties.


You can find the separator for the DIN rail on Thingiverse.
Let the water flow!
I simply buried the ground wires in the lawn.

And the water taps and valve boxes look like this now:

Single valve box 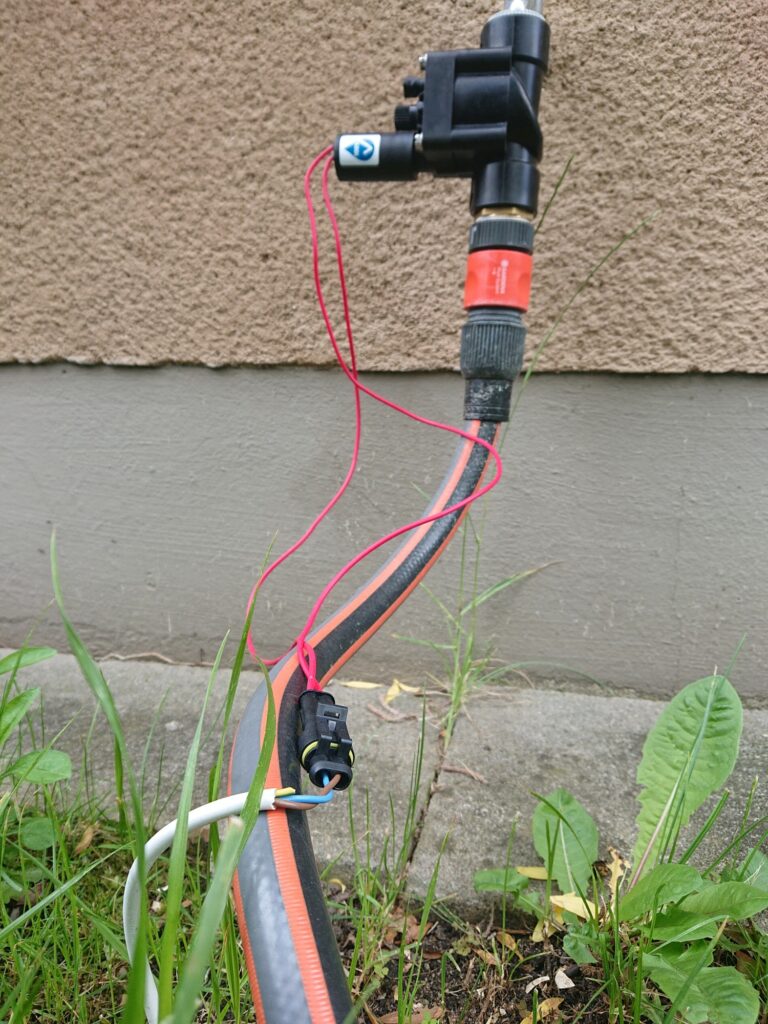
Faucet with central valve 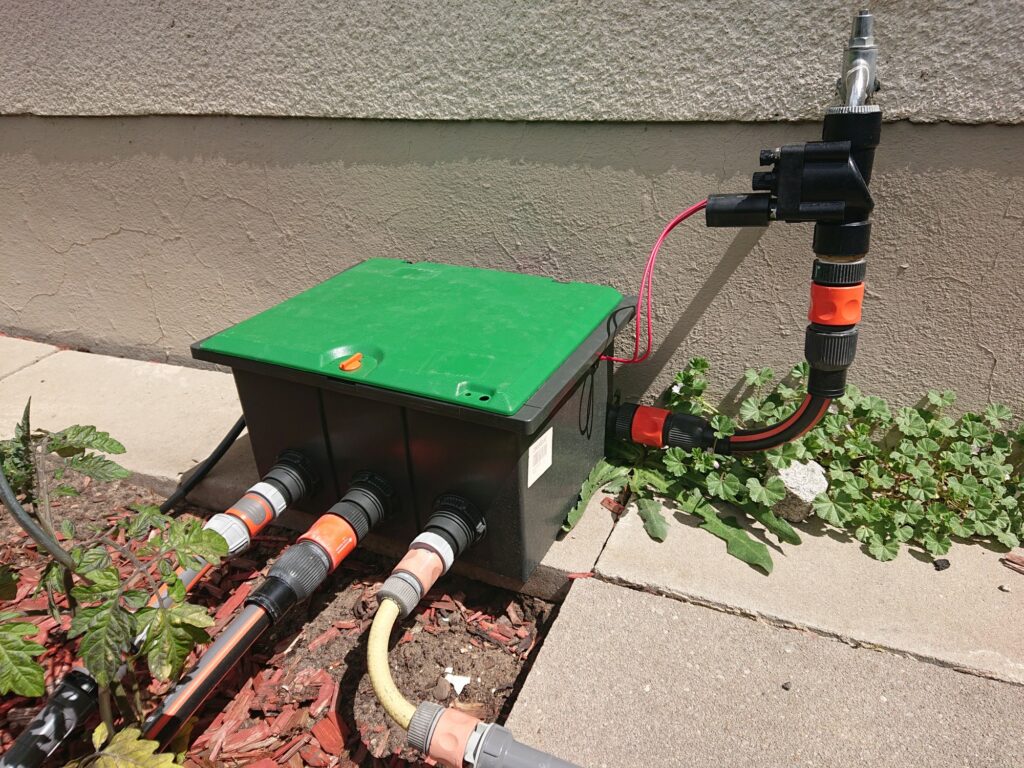
3 valve box, above ground 
3 valve box, open 
3 valve box, underground, buried last fall and found good by the cellar woodlice


The central valves on the faucets are allowed to hang freely in the air, Hunter says they are watertight. I connected the lines to these valves via IP67 certified plugs, the parts are known from the automotive sector among others. If you want to do something against the woodlice in the valve boxes, you have to seal them with insulating tape. But I don’t think that will do any good – the critters just get through everywhere. And they don’t really do any harm, it just doesn’t look nice.
Is that it? Of course not. The next step will be to install a couple of soil moisture sensors, also ESP-based, so that watering really only happens when it’s necessary. Currently the irrigation is time controlled. And I’ll show you my rules for ESPEasy, with which the central valves open and close automatically as soon as one of the control valves opens or closes, and the rules so that the individual valves are never open for more than 60 minutes.
So stay tuned 🙂
Be First to Comment