The dust problem
Everyone knows about the incontinence of the Bosch GCM 12 GDL: actually a really great machine, but it produces dirt like a pig, as we say in Bavaria. Like most people, I tried to somehow solve the problem or at least reduce it. So far I have taken a total of 3 measures, that had a positive effect for my setup. I will write about them in this post. But I’m not done with the optimization yet, so there will be another post with more improvements.
What did I do?
- I built a housing around the saw. This limits the space where the chips and dust can spread. As you can see in the picture below, it’s simply two side panels and a lid. The latter can be used as a shelf, but should be sturdy enough to prevent it from flexing. On the lid I mounted a small LED workshop light, so the workplace is also perfectly illuminated at the same time.
The sides are 30cm deep, the whole box is about 95cm wide and 75cm high. The LED light is about 60cm long. It should definitely be one with a suitable IP protection class, because of course it is still dusty up there despite all the improvements. And it should have its own switch, which is not always the case with those lights. I’ve linked to something suitable below. - I put a 100mm HT pipe through one of the side panels, to which I connect my 100 suction on the outside before I start sawing. This catches or extracts a lot of the dust flying around. An extremely inexpensive but quite effective method of capturing especially the finer dust.
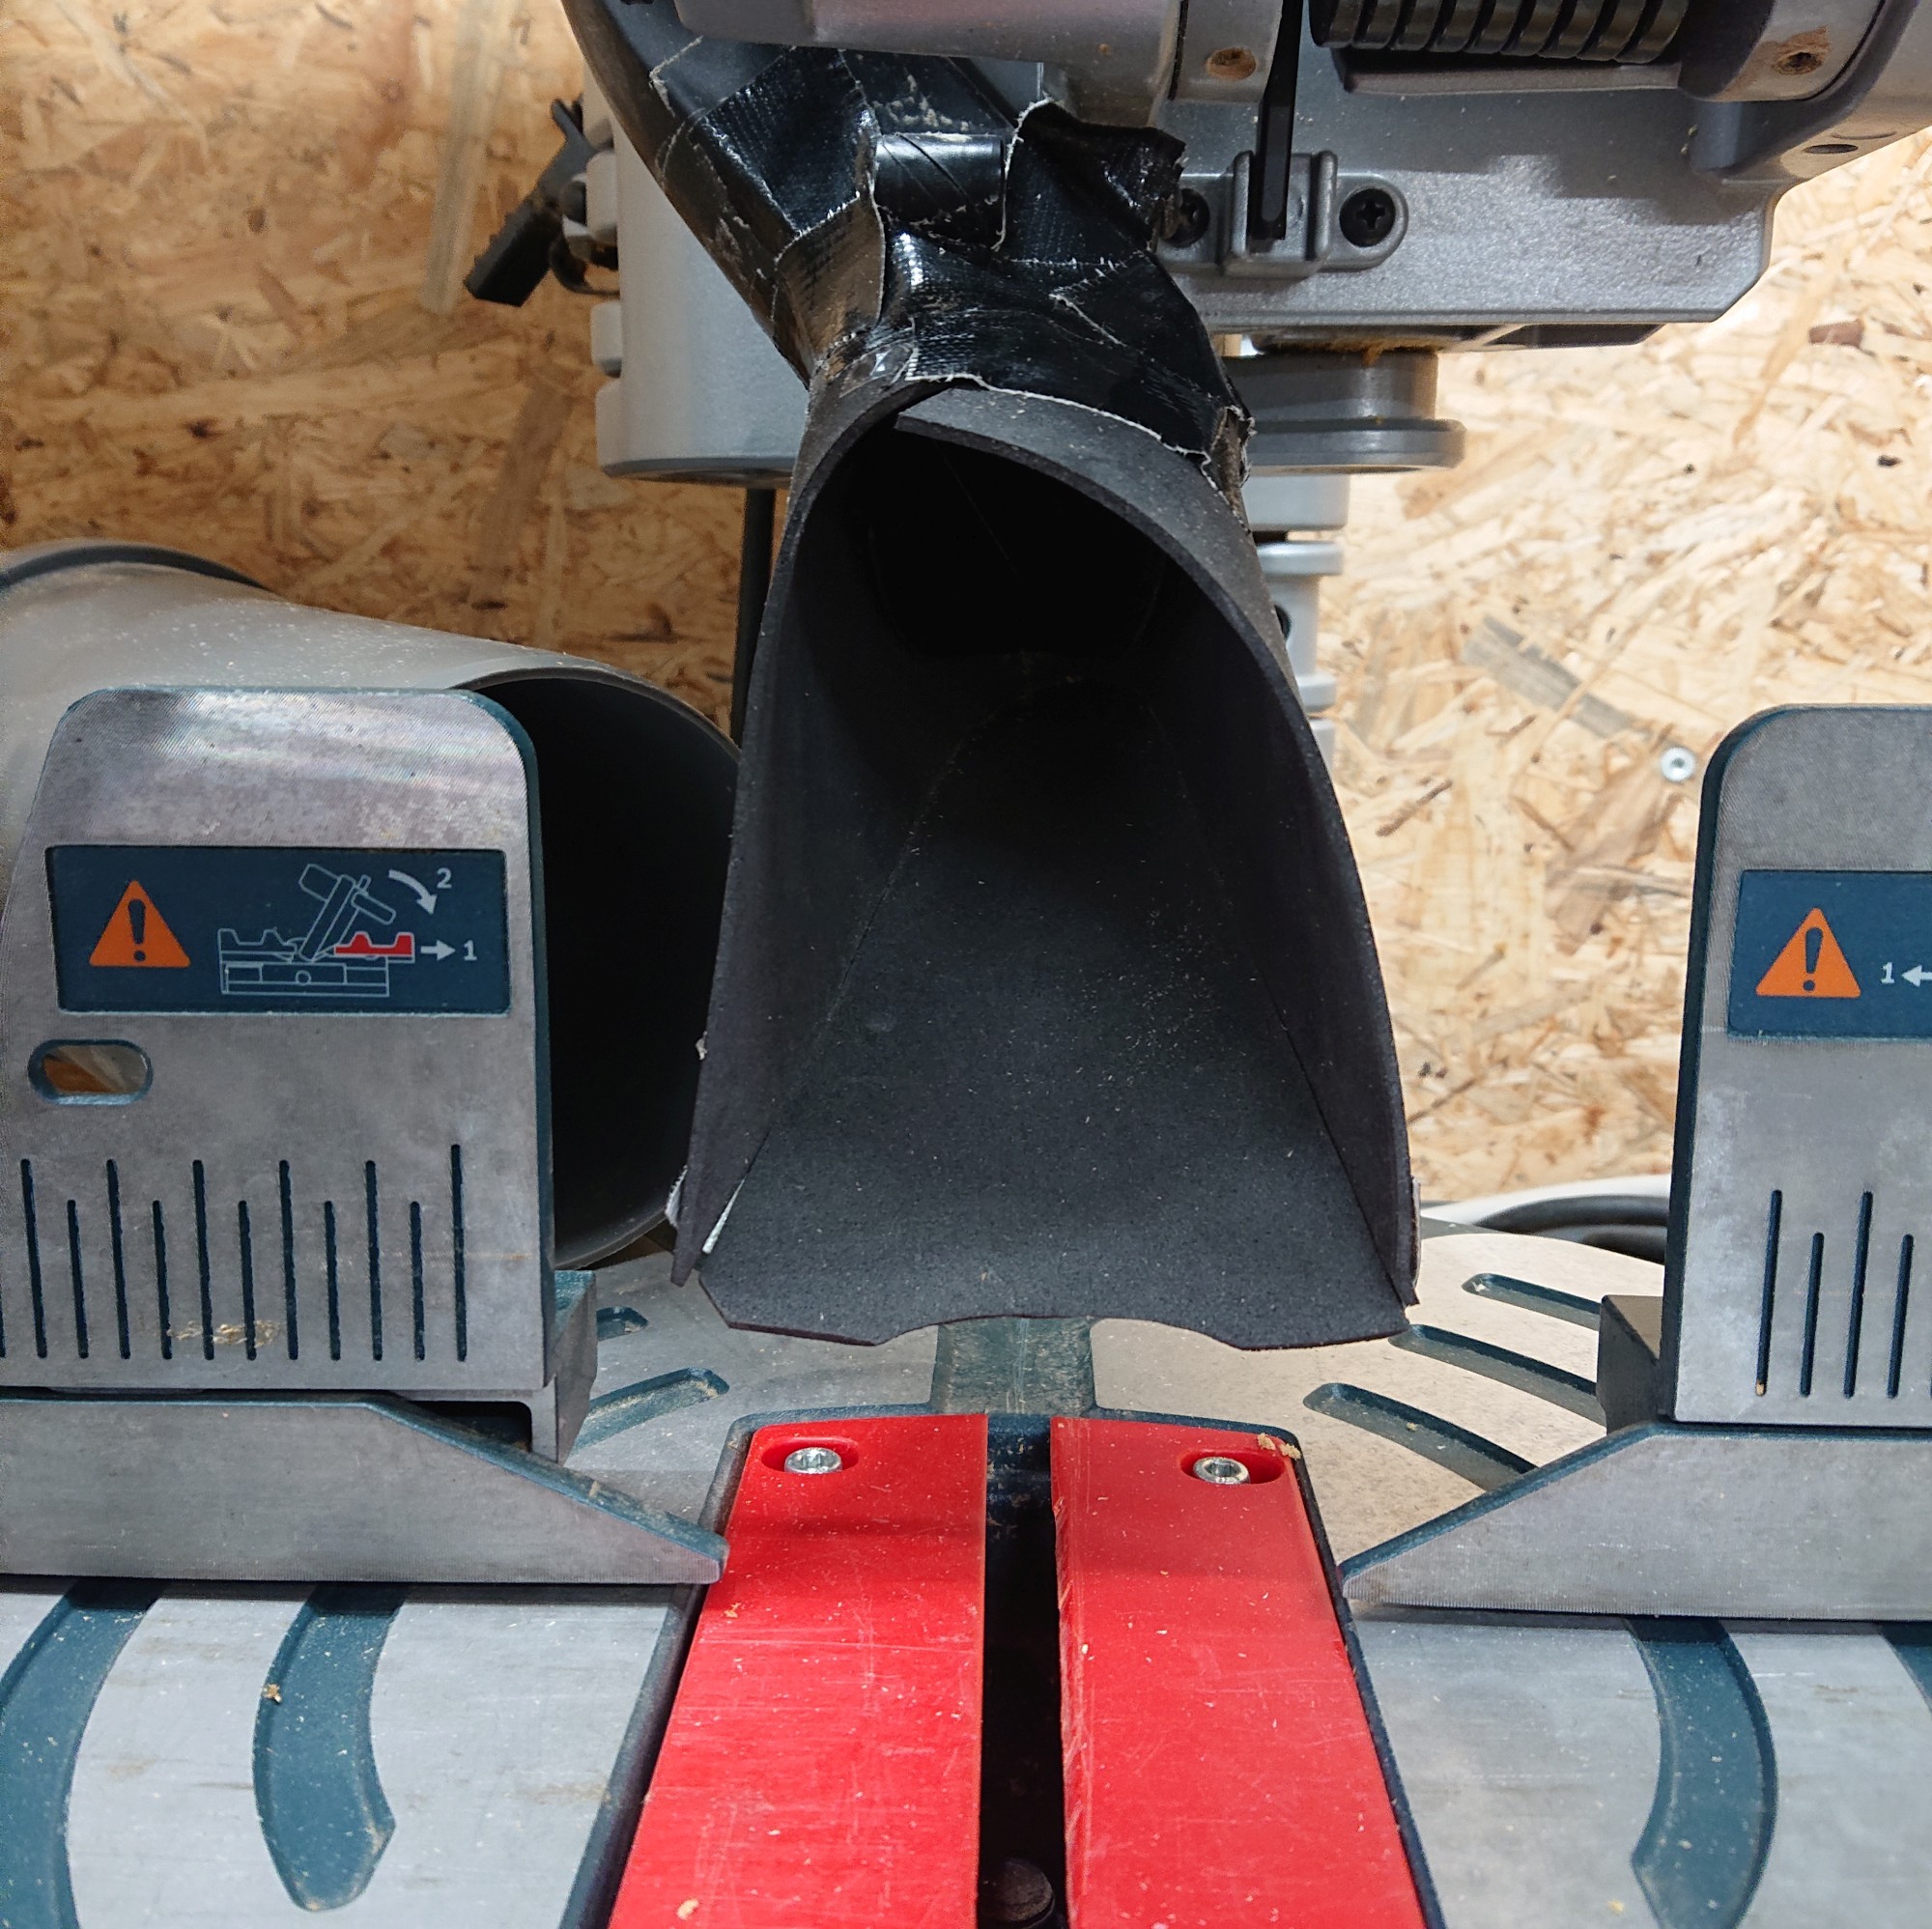
- Definitely the most important modification is replacing the original “dust boot”. I did a little reserch on the net and came across Dan Pattinson’s template for a bigger one. It’s not perfect, but it works pretty well. You just have to make sure to take the version for the big 12″. The material I used was thin rubber foam, easy to work with and cheap to buy. You can find a link to it below. I attached the new boot with simple gaffer tape.
By doing the three things described above, I was able to very neatly reduce the amount of dust and chips that are spread around the saw and in some cases throughout the room. The whole thing is implemented for very little money and in a short time.
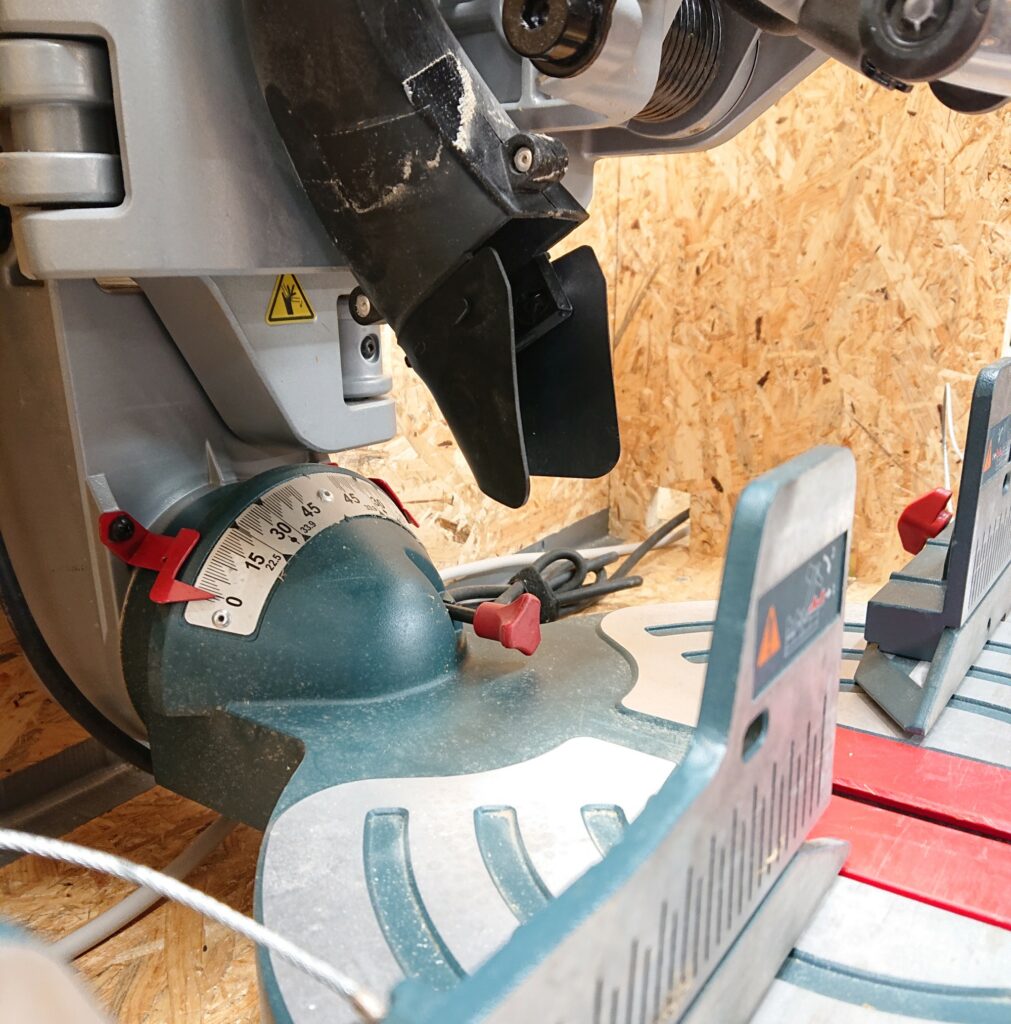
The original “placebo” dust boot 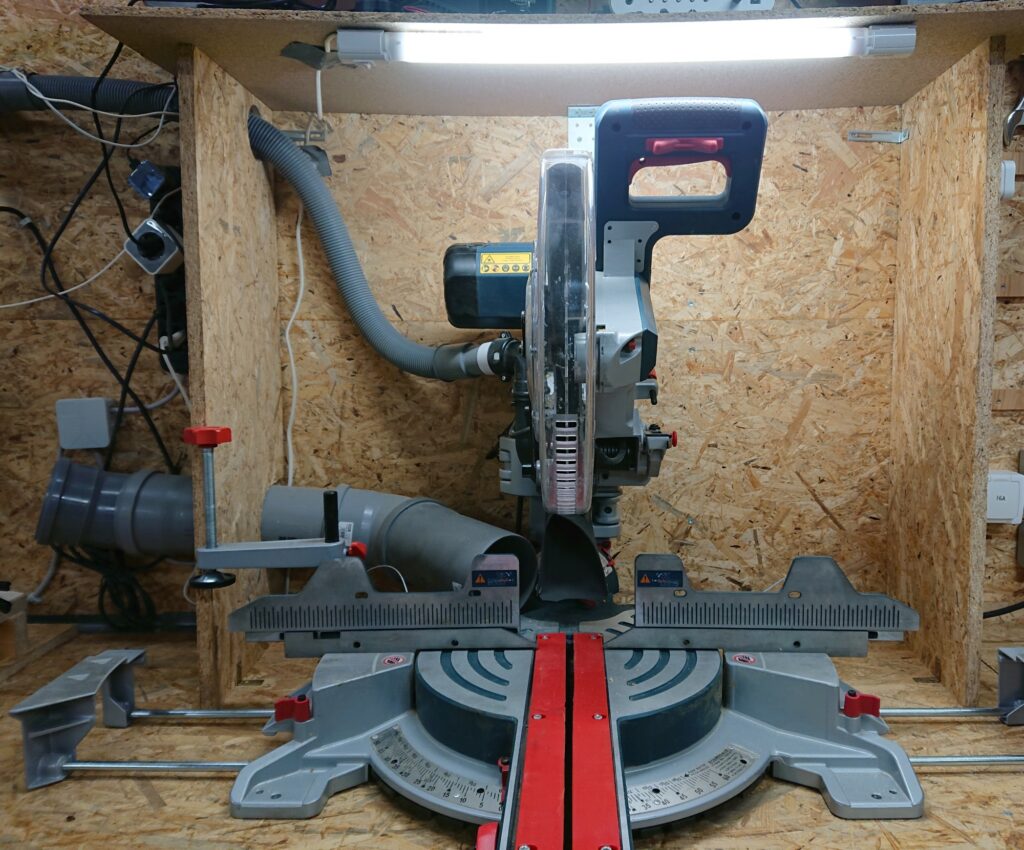
The complete enclosure 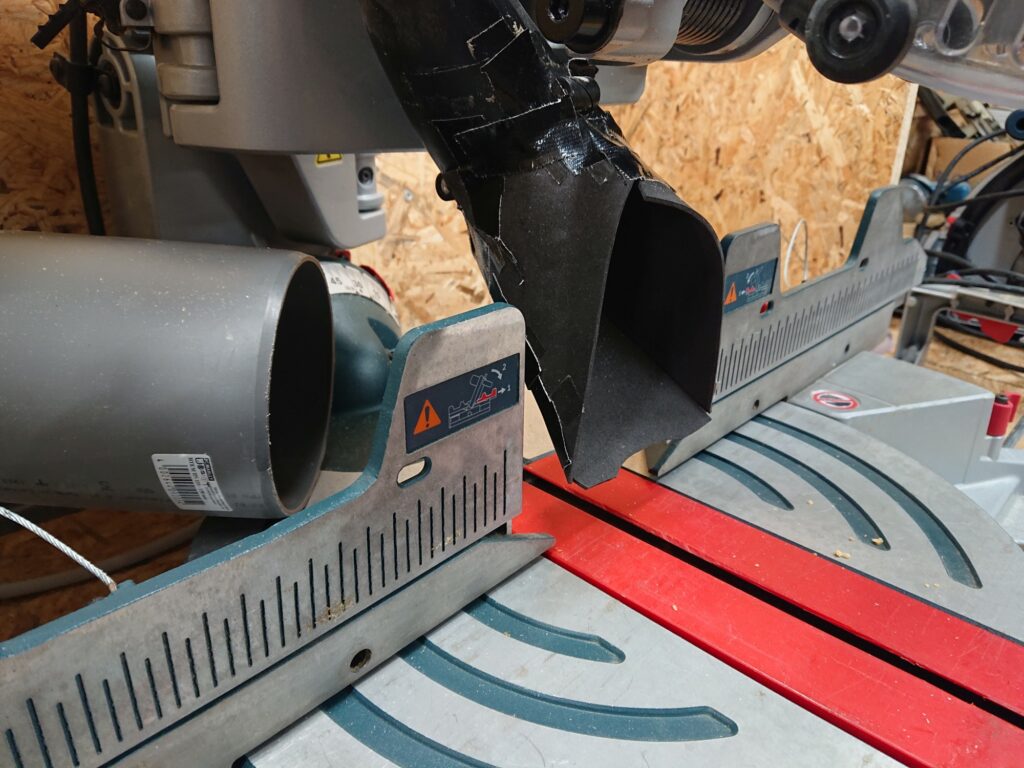
Complete extraction system 
Bigger and better dust boot


Of course, all of this is still not optimal. If you compare the quantity of the non-extracted chips on my installation with, for example, the large Metabo KGS saw, there is certainly still a lot more flying around here. That’s why this is only part 1 of the optimizations. I already have a few ideas on how I can further improve this significantly. Do you have any ideas? Write them here as a comment or even better as a reply to the related post on Instagram.
By the way – if you look closely, you can see that I also built my own connection for the Bosch to my 50mm suction system. If you want to know how this works and what else I’ve done suction-wise, you should keep checking back on this blog or my Instagram page, because there will be an article or two about it soon.
Downloads and Tools
Original cutting plan for the suction shoe by Dan Pattinson
- Rubber foam *
- Gaffer tape *
- Set of steel rulers for cutting *
- Milwaukee Utility knife, to cut out the shoe *
- 2ft LED workshop light for housing *
- Bosch GCM 12 SD, “The Monster” 😉 *
The links marked with an asterisk (*) are so-called affiliate links. If you click on such an affiliate link and buy through this link, I get a commission from the respective online store or provider. The price does not change for you. As an Amazon affiliate I earn on qualified sales.
Be First to Comment