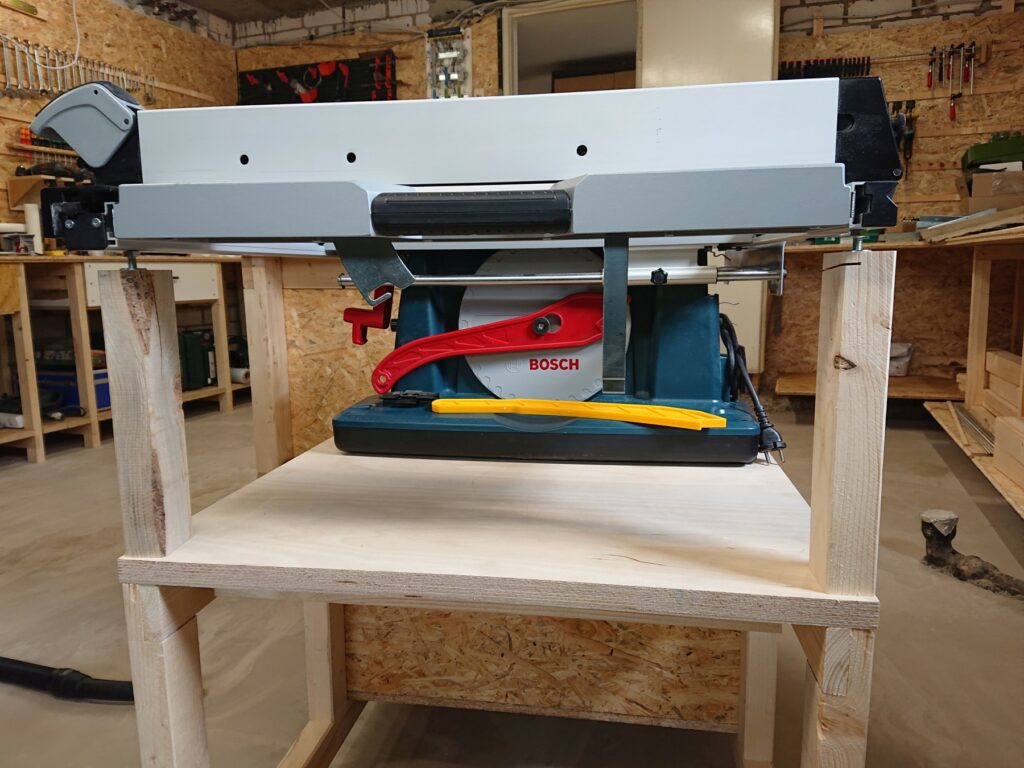
Of course, a table saw needs a proper stand. This can be the original racks of the respective manufacturers or you build a reasonable stand on which the maschine stands. The latter has of course the advantage that you can integrate a router table. And there ist enough storage space for the accessories for the machines. Like many others, I got the Bosch Professional GTS 10 XC as a table saw, but such a stand works of course for any other model.
As usual, I first started Sketchup and planned the whole thing on the computer. The 3D construction plan, including wood list and cutting plans can be downloaded below.
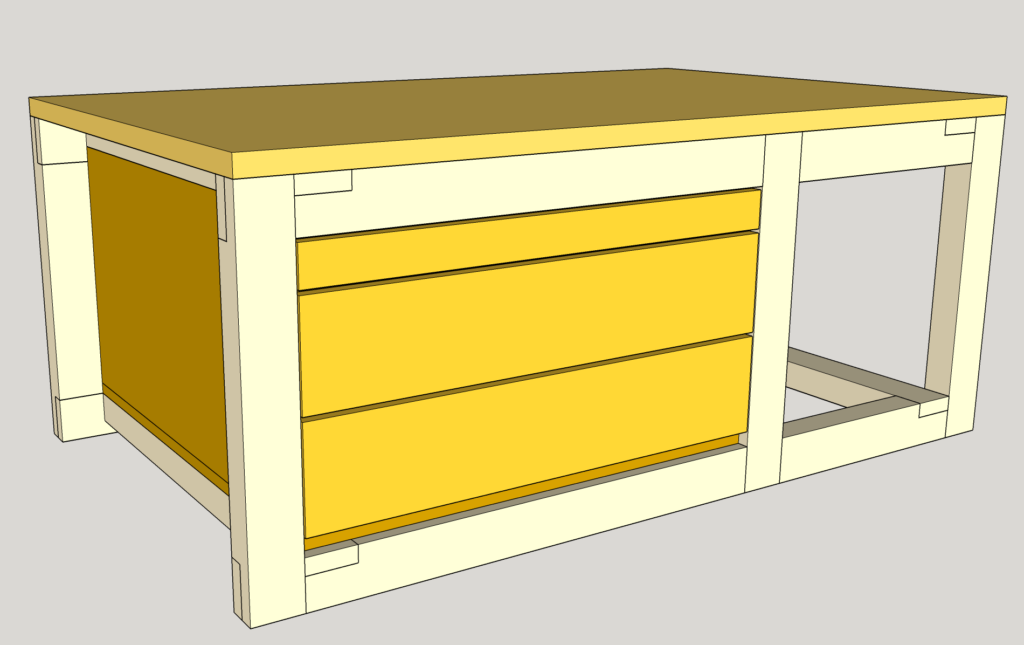
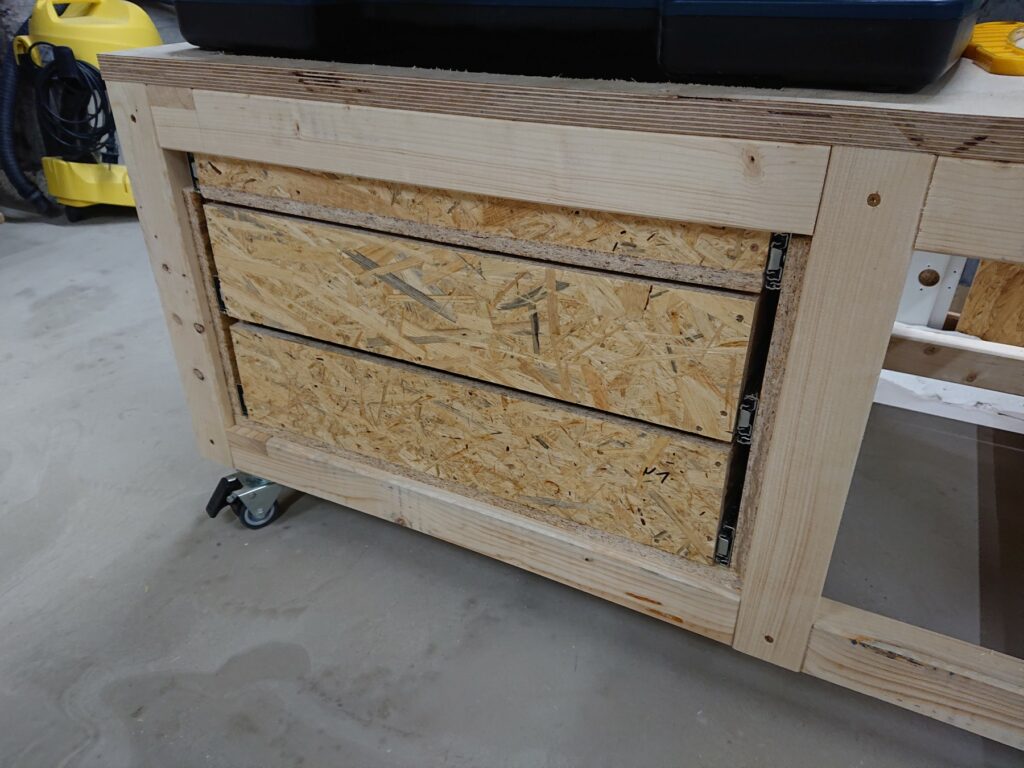
The frame is made of simple 60x40mm construction wood, the laths are connected by overlapping joints. To the left and right of the drawers come boards to which the pull-outs are attached. It doesn’t matter how you build your drawers, I’m sure everyone has their own favorite method.
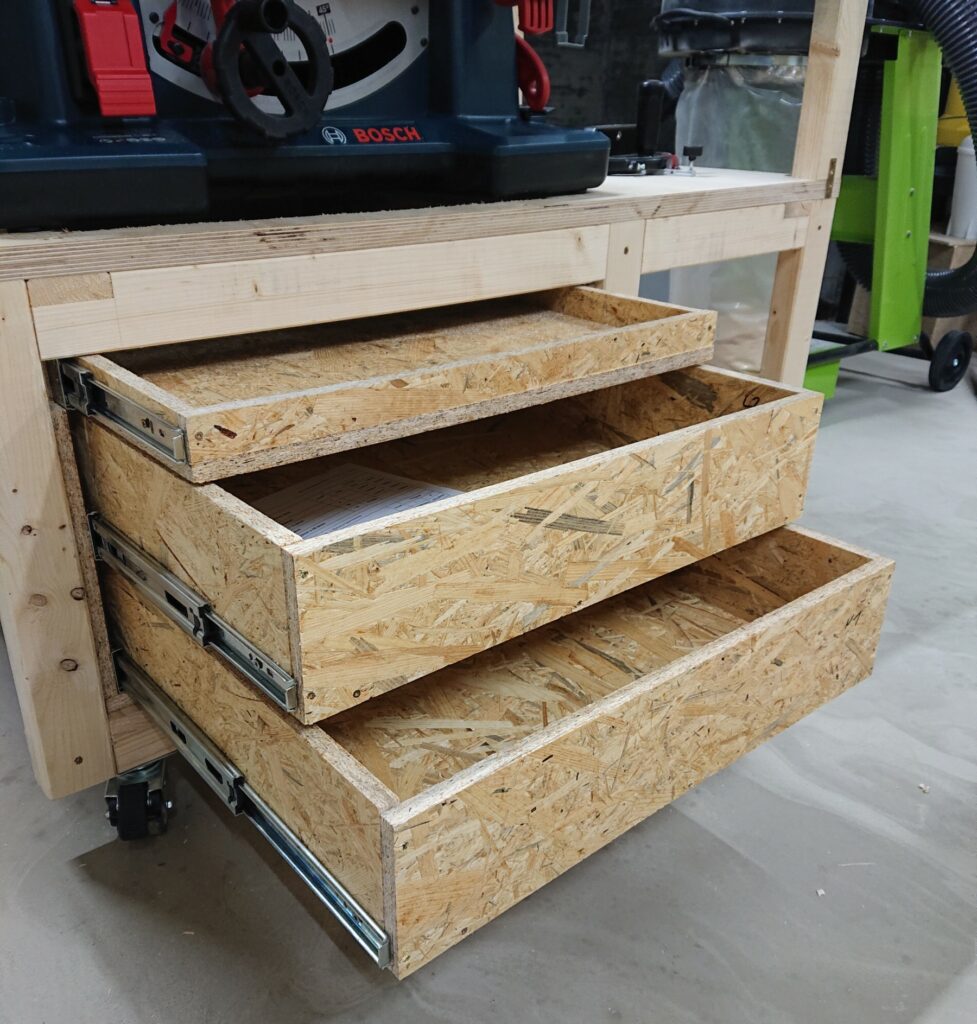
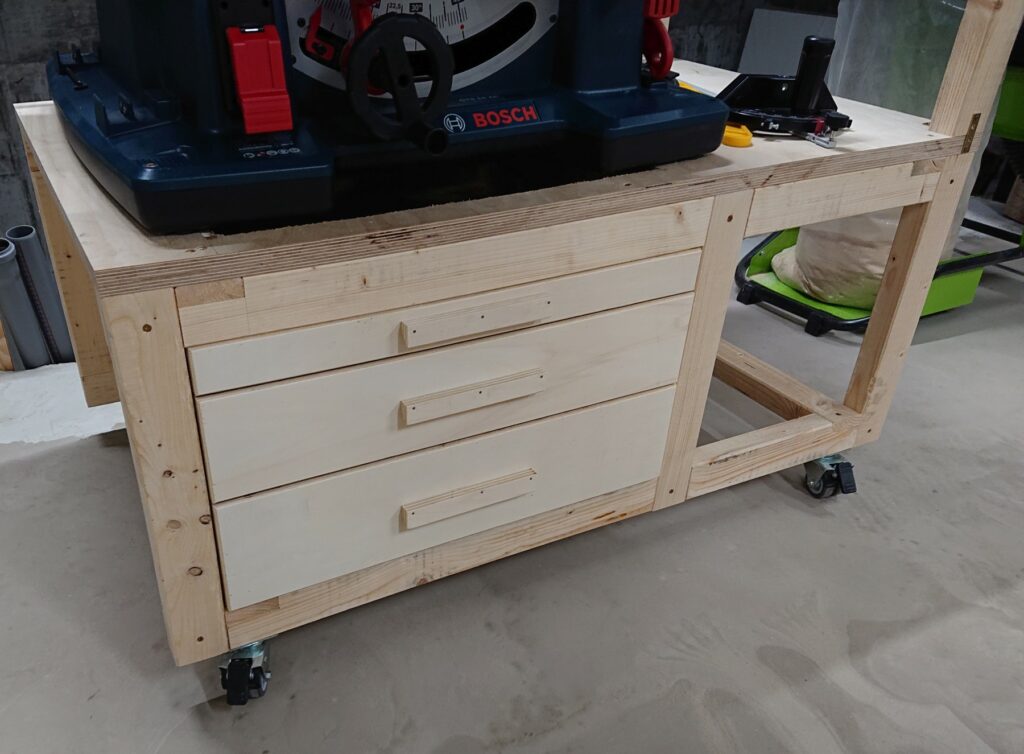
I have 3 drawers. The top drawer is very flat and serves as a tray for the saw dust. The fronts are made of 15mm birch multiplex and certainly are not necessary, but they look better.
For the top plate I used 24mm birch multiplex. The GTS 10 XC has a plastic grid at the bottom, which can be removed, so the saw dust can simply fall out downwards. Through a hole in the multiplex plate they fall further into the top drawer. I then vacuum this out from time to time, depending on how much I have sawn.
The hole in the plate I simply cut out with the jigsaw. The piece what was removed thereby I could perfectly use as a work surface on my drill stand. But more about that later in another article.
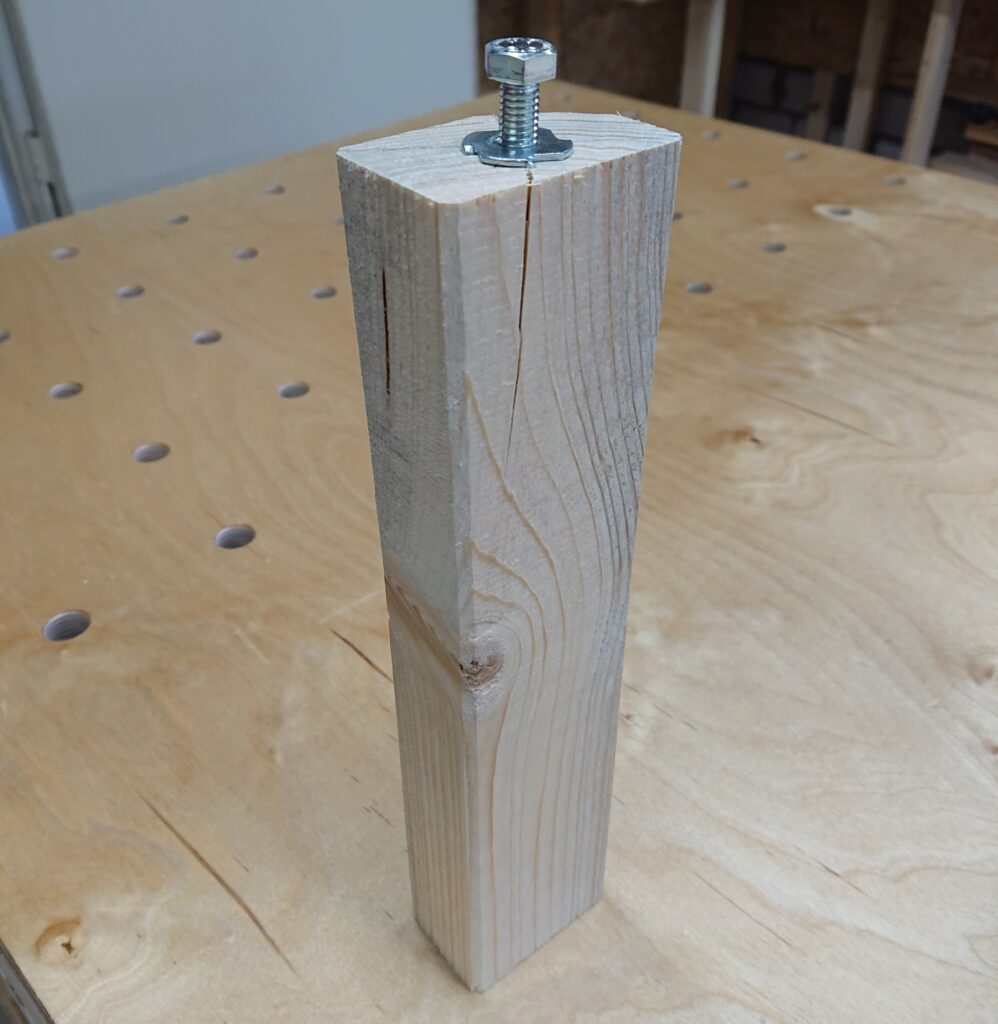
Since I want to implement the well-known router table design for the GTS, I set it up with the support table extended. For that does not hang downward, I built simple feet under it. Here, the enormous working range of the Wabeco drill stand paid off: simply turn the drill upwards, place the squared timber underneath and drill the 12mm hole for the set screw and the 10mm drive-in nut with absolute precision. Now I have a precisely adjustable support for the extended table.
Simple double rollers with brakes are used as rollers. Simply activate the brakes on at least two rollers and the stand is safe and stable.
The wood I used I bought in the wood shop and not in the hardware store, because the quality in the hardware store was not good enough for me. In total, I paid around 100 euros for everything, i.e. wood, rollers and extensions. With some adjustments, I’m sure it can be done cheaper.
Lazy as I am, no surface treatment has taken place here. Only the edges were rounded with a edge router, so that nothing breaks out if one stumbles against them. Simply breaking the edges with a plane or a sanding block is of course also possible.
In another post, I’ll explain how I built my super-cheap version of a router table for the Triton TRA001 router.
The plans and lists:
If you want to know how to create such lists and cutting plans, then take a look at Johannes Boernsen video, he explains it great in this Youtube (only in german).

Be First to Comment